Liferay
Liferay Objects with Liferay forms

Jigna Patel•Dec 29, 2022
Problem
Save the data in Liferay objects using Liferay forms or create forms using Liferay objects.
Solution
We can use Liferay’s OOTB feature to make forms using Liferay objects.
Benefits
- Liferay provides the storage types to forms.
- With this storage types we can create our form using Liferay Form and save the form entries into Liferay Objects
Prerequisites
- Liferay portal 7.4 +
- Basic knowledge of Liferay
Environment Requirements
- Liferay Portal
Following are the main steps to create Liferay forms using Liferay objects:
- Create the Liferay Object.
- Map a Liferay form with a Liferay Object.
1) Create the Liferay Object :
For information on creating Liferay objects, checkout our Object Blog
2) Map a Liferay form with a Liferay Object. :
To map a Liferay form with a Liferay object, follow the below steps.
1. Make Liferay Form.
- Open the Product Menu (◧) then click the compass icon (⊘)on the Site Administration menu. Select the site where the form will be created.
- Click Content & Data → Forms.
- Click the Add button (╂). The form builder view appears.
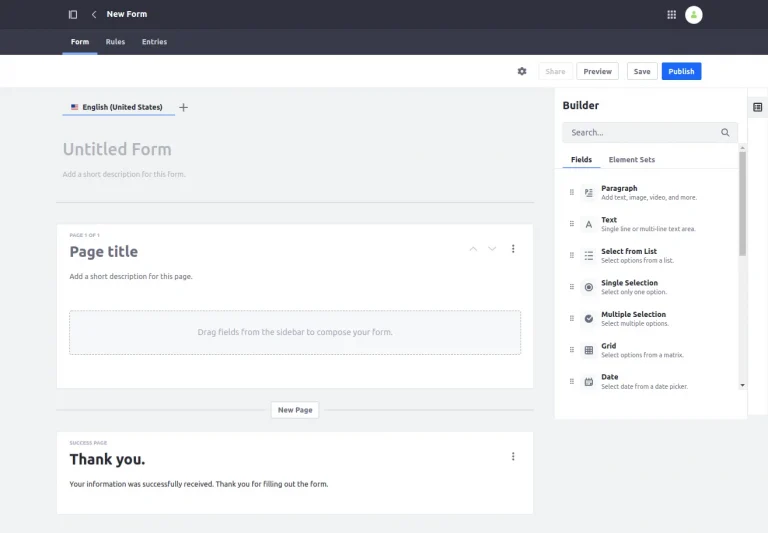
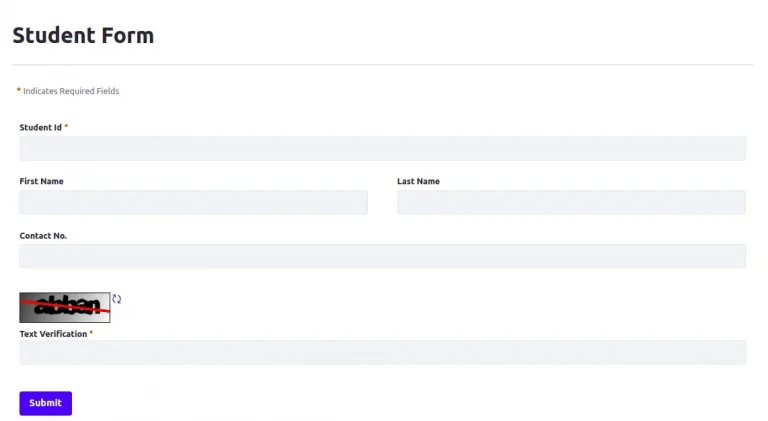
- Enter a name for the form; here I gave the name “Student Form.”
- Enter a short description(optional field) which describes the form.
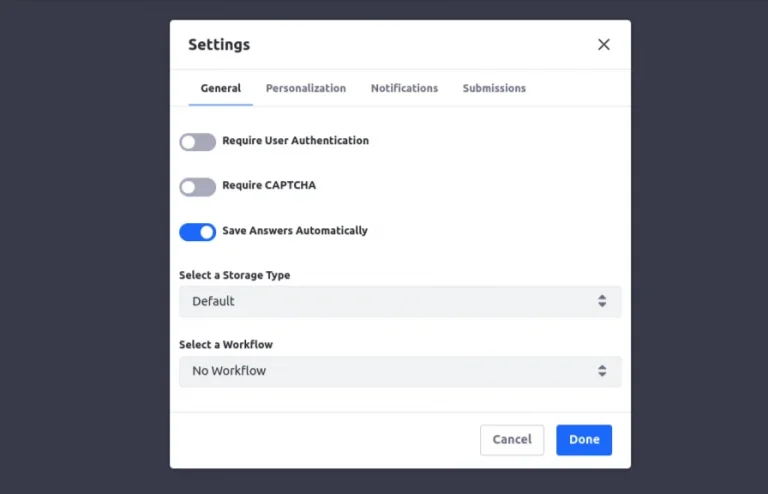
2. Set the storage type.
- Click on the settings icon., It will open a pop-up window.
You can check the description of these settings here.
- Select the storage type as “object.”
Note:Default storage type will save form entries into forms.
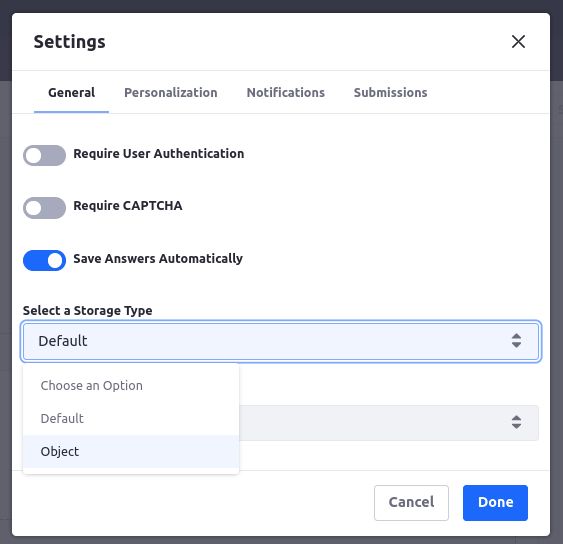
- Choose the object from the list that you want to use to create a form with.
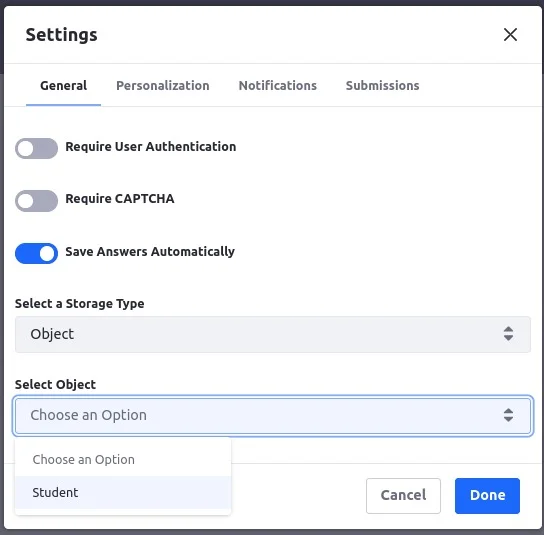
- Click Done. It will save the setting, and you will be able to use the object fields as form fields.
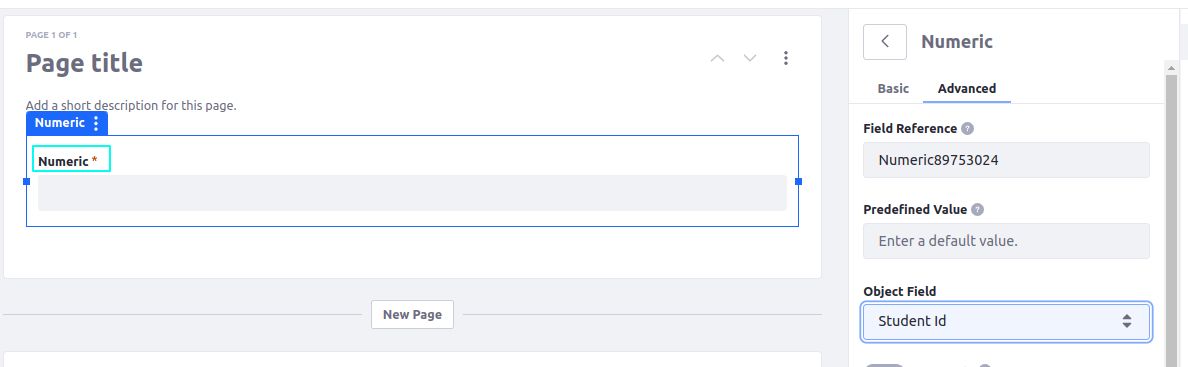
3. Assign the object field with form.
- Enter a page name,otherwise it will use the default value.
- Make a form field compatible with the desired object field and add it. For a list of which form fields work with each kind of object field, see Field Compatibility Reference.
- Go to the Advanced setting of that field.
- Check that an object's field is available in the Object Field drop-down menu.

- Select the desired field from the object fields.
- If the selected field is mandatory in object it the form will auto matically make it required.
- Now is the time to finish the remaining form parts.
- Publish the form once it has been created.
Note: If all required object fields are not mapped to a form field, the form cannot be published.
- Open the form and fill it out.
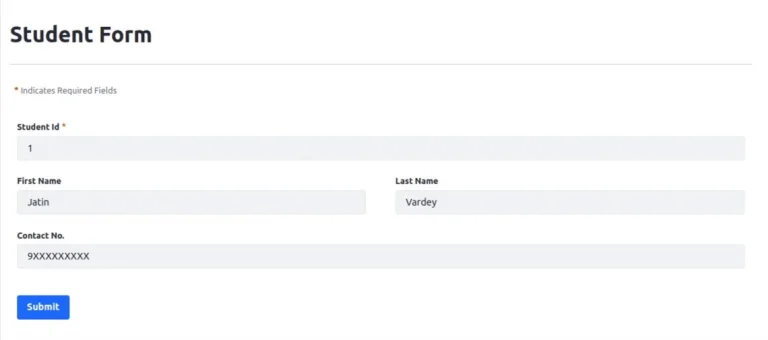
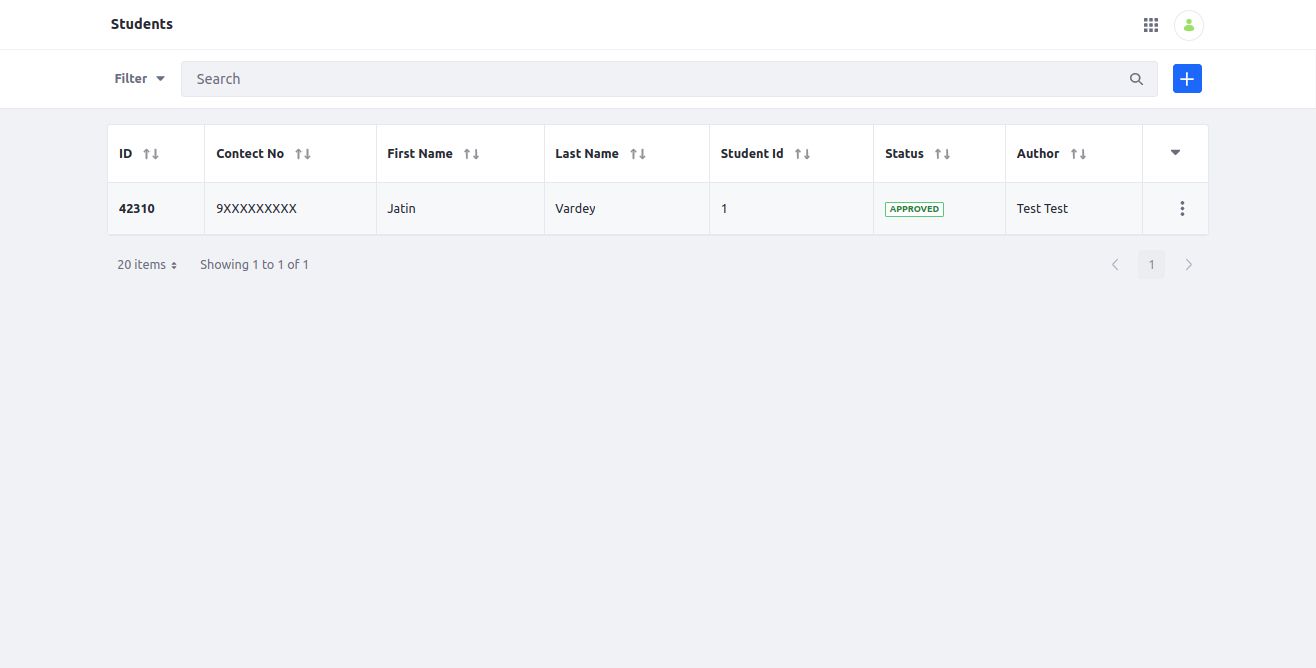
- Your form will be submitted, and the information you’ve provided will be saved in the object.
- You can check the object entries to verify it with your form values.
4. Add object permission to the Guest role.
- Currently you will be able to fill the form as Admin User. But for guest users you will be required to give the permission.
- Go to the Control Panel and then click on Users → Roles.
- Open Guest User → Define Permission.
- Search your object name and open it.
- Tick “Add Object Entry” and Save.
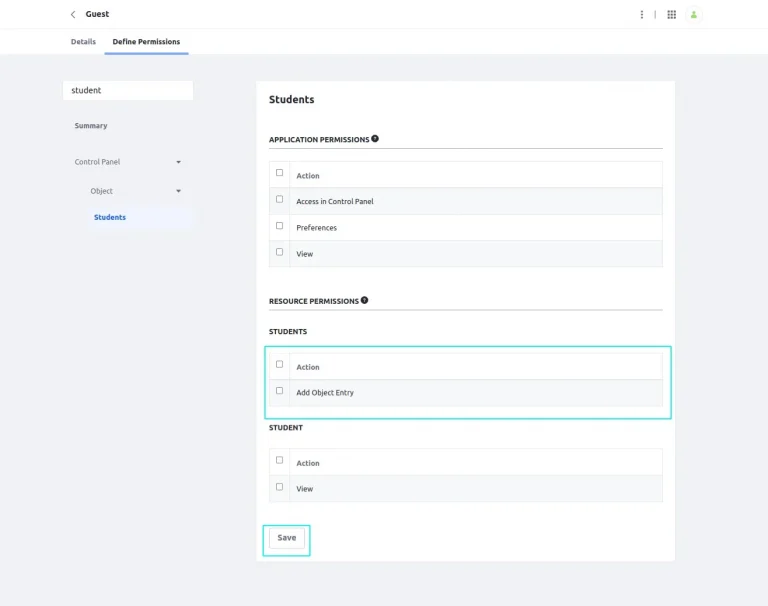
- Now you will be able to fill the form as any user.
5. Add a Captcha to form.
- There is one more thing you can do to your form is enable liferay captcha.
- Open your form and click on settings.
- Enable Require CAPTCHA
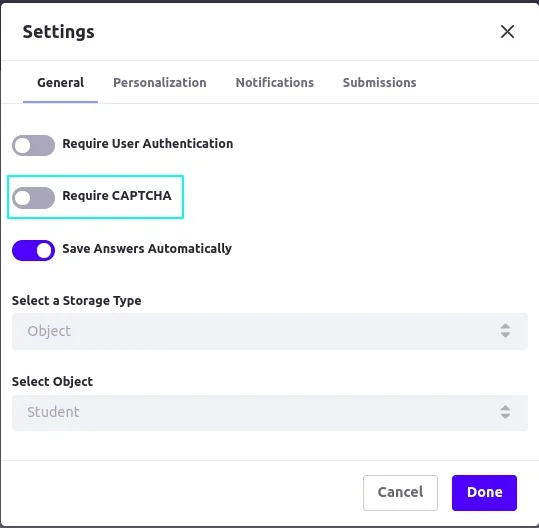
- Click done and save the form. It will enable the captcha for the form.
- You can open the form and check that it has captcha now.