Introduction
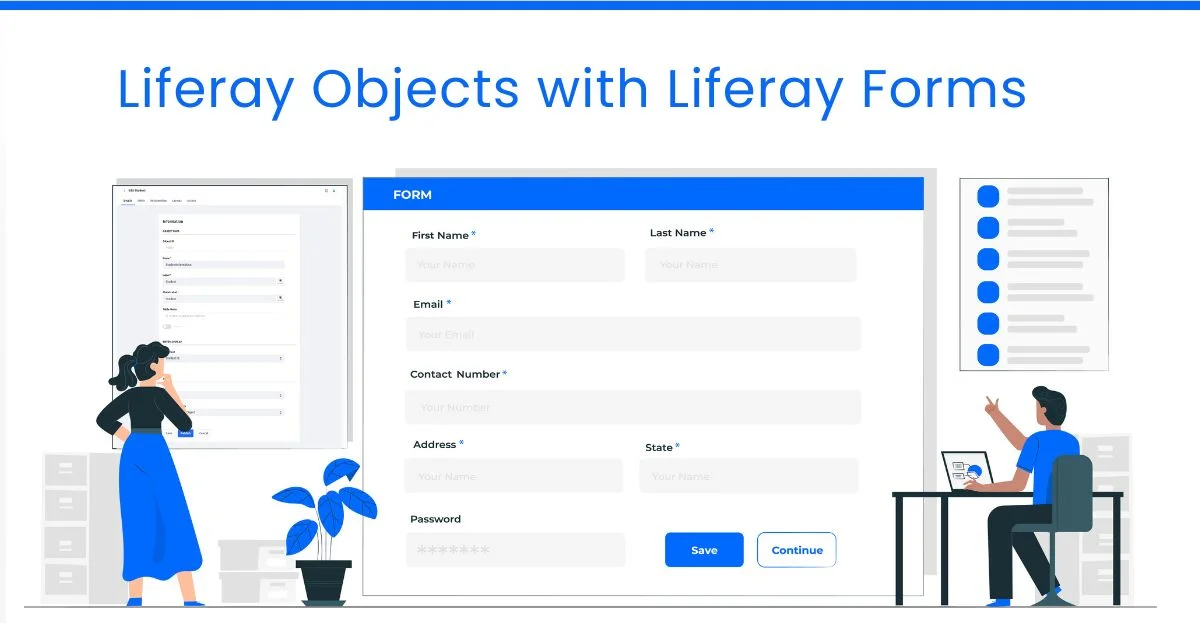
Liferay Objects are versatile tools for actions like adding, updating, and deleting entries, all while handling Liferay’s low-code/no-code framework. These features make it easy to address a wide range of user needs. In this blog, we’ll dive into two aspects of the Liferay objects: state management and validation. By using these functionalities, we’ll show how they can be implemented effectively to deliver a seamless and efficient experience.
Prerequisites
- Liferay DXP/Portal 7.X
- Basic knowledge of Liferay
Environmental Requirements
- Liferay Portal or DXP
Way to managing state and validation
01) Create the Objects
- Please create the object where you want to manage the state and validation.
- If you are unfamiliar with objects and how to create them, please refer to the link below.
02) Prepare the steps for State Management
- State management is handled using picklists. To implement it, you need to plan the sequence of steps and think about which step should follow the current one.
- I have created the object for employee details to reference this blog where I managed the state for the employee experience.

- Navigate to the control panel > objects > your object > Fields > new field

- Now select the picklist in the Type and enable Mark as State. After marking it enabled, it will create one task in the state manager.
- Now you want to save this action and navigate to the state manager where you show one action with the above label name, like Experience.

- As you can see in the above image, you can easily define the next status. When an employee is the joining point of the company, then at that time all the list of experience is visible, but after that, the next status is only visible.
- Now we can implement the validation and then go for the final output.
03) Apply Validation to the object
- Now navigate to the validation and create a new validation, as you can see in the above image.
- Give an appropriate name and select the type of validation.

- As you can see in the below expression, I have implemented some validation with the help of Liferay’s expression builder and set an error message as well.
- Validation with expression builder
					((experience == "1YrExperience" OR experience == "2YrExperience" OR experience == "3YrExperience") AND employeeDesignation == "JrSoftwareDeveloper") OR
((experience == "4YrExperience" OR experience == "5YrExperience" OR experience == "6YrExperience") AND employeeDesignation == "SrSoftwareDeveloper") OR
experience == "6PlusYrExperience" AND employeeDesignation == "TeamLeader" OR
experience == "8PlusYrExperience" AND employeeDesignation == "ProjectManager"

//Error message
Wrong experience selected

- If any of the conditions match, then only you can submit the employee form; otherwise, it will display the error message which we set while validation.
- Now navigate to the Basic Info and activate the object validation.
04) Object form with the site manager and validation
- Now we can navigate to the object form and test the flow of the site manager and validation.
- We can add the new employee and show you the output, managing states, and validations of the designations.

- As you can see, there is no entry of the object or employee details on the page, so we can create our first employee entry by clicking on the plus icon.
- As you can see in the above image, we are adding an employee for the first time, so in the experience, we can see the list of all experiences, but when we update the employee entry, then we will show only the next year of experience in the list. This is the perfect use of the state manager using Liferay.
- Now, after selecting the experience, we must select the employee designation as per validation, which we cover in step 3.
- If we select the wrong designation as per the experience, it will give an error message.

- As you can see in the above image, the experience of the employee is 2 years, so we must select Jr. Software Developer, but we are selecting the wrong employee designation, so the form is not submitted and gave us an error.

- Now, as you can see in the image, we have one employee entry with the perfect validation.
- We are updating that entry and checking the flow of the state manager. As per the employee experience, only “3 yr experience” will be visible.

- While updating the employee entry, we have only one option, as we defined in the state manager.
Conclusion
- In conclusion, managing state and validation in Liferay objects is a powerful way to build dynamic and user-friendly applications. Using state management, we can control data displayed or allowed based on specific conditions, like showing only the next year of experience during updates. Similarly, validation ensures that the data entered meets the required rules, like enforcing the right designation for a specific experience level. These techniques make your applications fast and easy, reduce errors, and improve the user experience. Whether you’re a fresher or an experienced developer, these features in Liferay can help you build more efficient and reliable solutions.